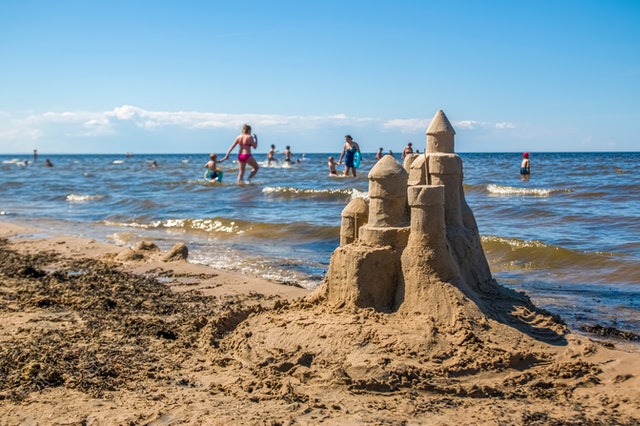
Step-by-step instructions to build an impressive sandcastle with your family and friends on the beach.
Summertime is great for fun activities with friends and family. Of course, there are many activities to pursue with those you love, but building a sandcastle can be a favorite at the beach. Here are four simple stages to building a great sandcastle, plus some tricks.
Step 1: Gather Materials for your Sandcastle
The Obvious: As with every sandcastle, you will need tons of sand and water. The sand is the medium for sculpting, which will not cooperate without water to smooth it out and hold it together. In addition to this, you will need shovels and buckets to shape the sand the way you wish and to make it easier to lift and move. Make sure you bring a couple of different sizes and shapes for stylistic purposes.
The Not-So-Obvious: After the primary building of the sandcastle is done, you can use almost anything to decorate the outside of the castle. Things lying on the beach make incredible decorations, such as feathers, shells, coral, and driftwood. Other than these, you can bring different tools to add texture to the castle later. Everyday things such as kitchen tools and paintbrushes make fantastic tools.
Step 2: Pile on the Sand
Before you even pick up a bucket or shovel, you have to choose a place for your sandcastle along the beach. Keep an eye on the tide. The water destroying a half-finished sandcastle is the worst.
If you are making an intricate sandcastle with an idea for more of a sculpture instead of an architectural project, it may be easier to start with one giant pile of sand. Pour water onto the pile of sand until it is packed down and easy to work with. Don’t worry about pouring too much water because any excess will drip through. The wetness of the sand makes it sturdier and gives it smoothers lines. You may now continue carving your sandcastle as you choose.
However, there is the possibility that you are not a sculptor and that you want to build a regular old sandcastle on the beach. In this case, start with a base of sand that you want to be the center. The buckets that you have brought are perfect for making this base. When you put water into a bucket, you want it medium wet. It can’t be too dry that it doesn’t hold shape, but not too wet that the sand doesn’t budge from the bucket when you turn it over. Buckets can build impressive constructions like the castle’s towers and walls. There are many buckets out on the market with ridges and designs for decoration. Makes sure these are entirely packed with sand before you flip your bucket or they will appear cracked and not all there.
Step 3: The Moat
It is an optional step. Not every sandcastle needs a moat, but they often look much more relaxed and potent with some water around the edges. To create a canal, dig a trench around the base of your sandcastle. It can be around, square, or intricate pattern. The shape doesn’t matter. Secondly, you will want to pour water around the edges of the trench to smooth out the walls and base. It will appear neater and completed. Finally, make sure there is no loose sand around the edges that could fall inside your trench.
If you want to fill your moat with water, you may want to add plastic bags to your list of sandcastle materials. If you choose to do so, you will dig your trench first, then line the bottoms and sides with trash bags. It prevents water from penetrating the sand below. After doing this, completely cover the bags with about an inch or two of sand. The sand will flatten and spread when you pour water onto it, so be sure to put enough sand so you don’t see the bags underneath. After you have your sand, slowly pour water to fill up your moat.
Step 4: Decorating Your Sandcastle
Finally, the most accessible and amusing is no set path to follow. Have fun and make your castle however you want. Place all the decorations you have gathered on your sandcastle to give it something a little extra. Don’t forget about texture if you don’t think you will like that look. Forks and knives from the kitchen can make astonishing patterns along the edge of your castle. Finally, don’t forget about strange things such as a paintbrush or even a piece of coral. These things can make astonishing patterns in multiple places along the walls of a castle.
Finally, sit back and enjoy the masterpiece you have created with the people you love, or simply as a relaxing exercise by yourself. If it’s something you love, don’t forget to take pictures before the sea washed it away.


